About this deal
Note: If you are using a velvet fabric like I am, you might want to use more pins than normal to prevent the fabric from shifting under your presser foot. Cut a rectangle of fabric 3” x 16”. Also cut 2 on fold of EITHER the Long Bowor Short Bow pattern pieces. Sew the scrunchie Start working the safety pin through the scrunchie by pushing it further into the tube, then pulling the fabric over it. If you'd like me to do a photo step-by-step tutorial on this one too, let me know, I looooove sewing scrunchies of all kinds! I know, so many scrunchie styles to choose from - it's amazing what a little fabric can do! After you’ve made a couple of scrunchies, you might want to adjust the length of the elastic longer or shorter to get a better fit.
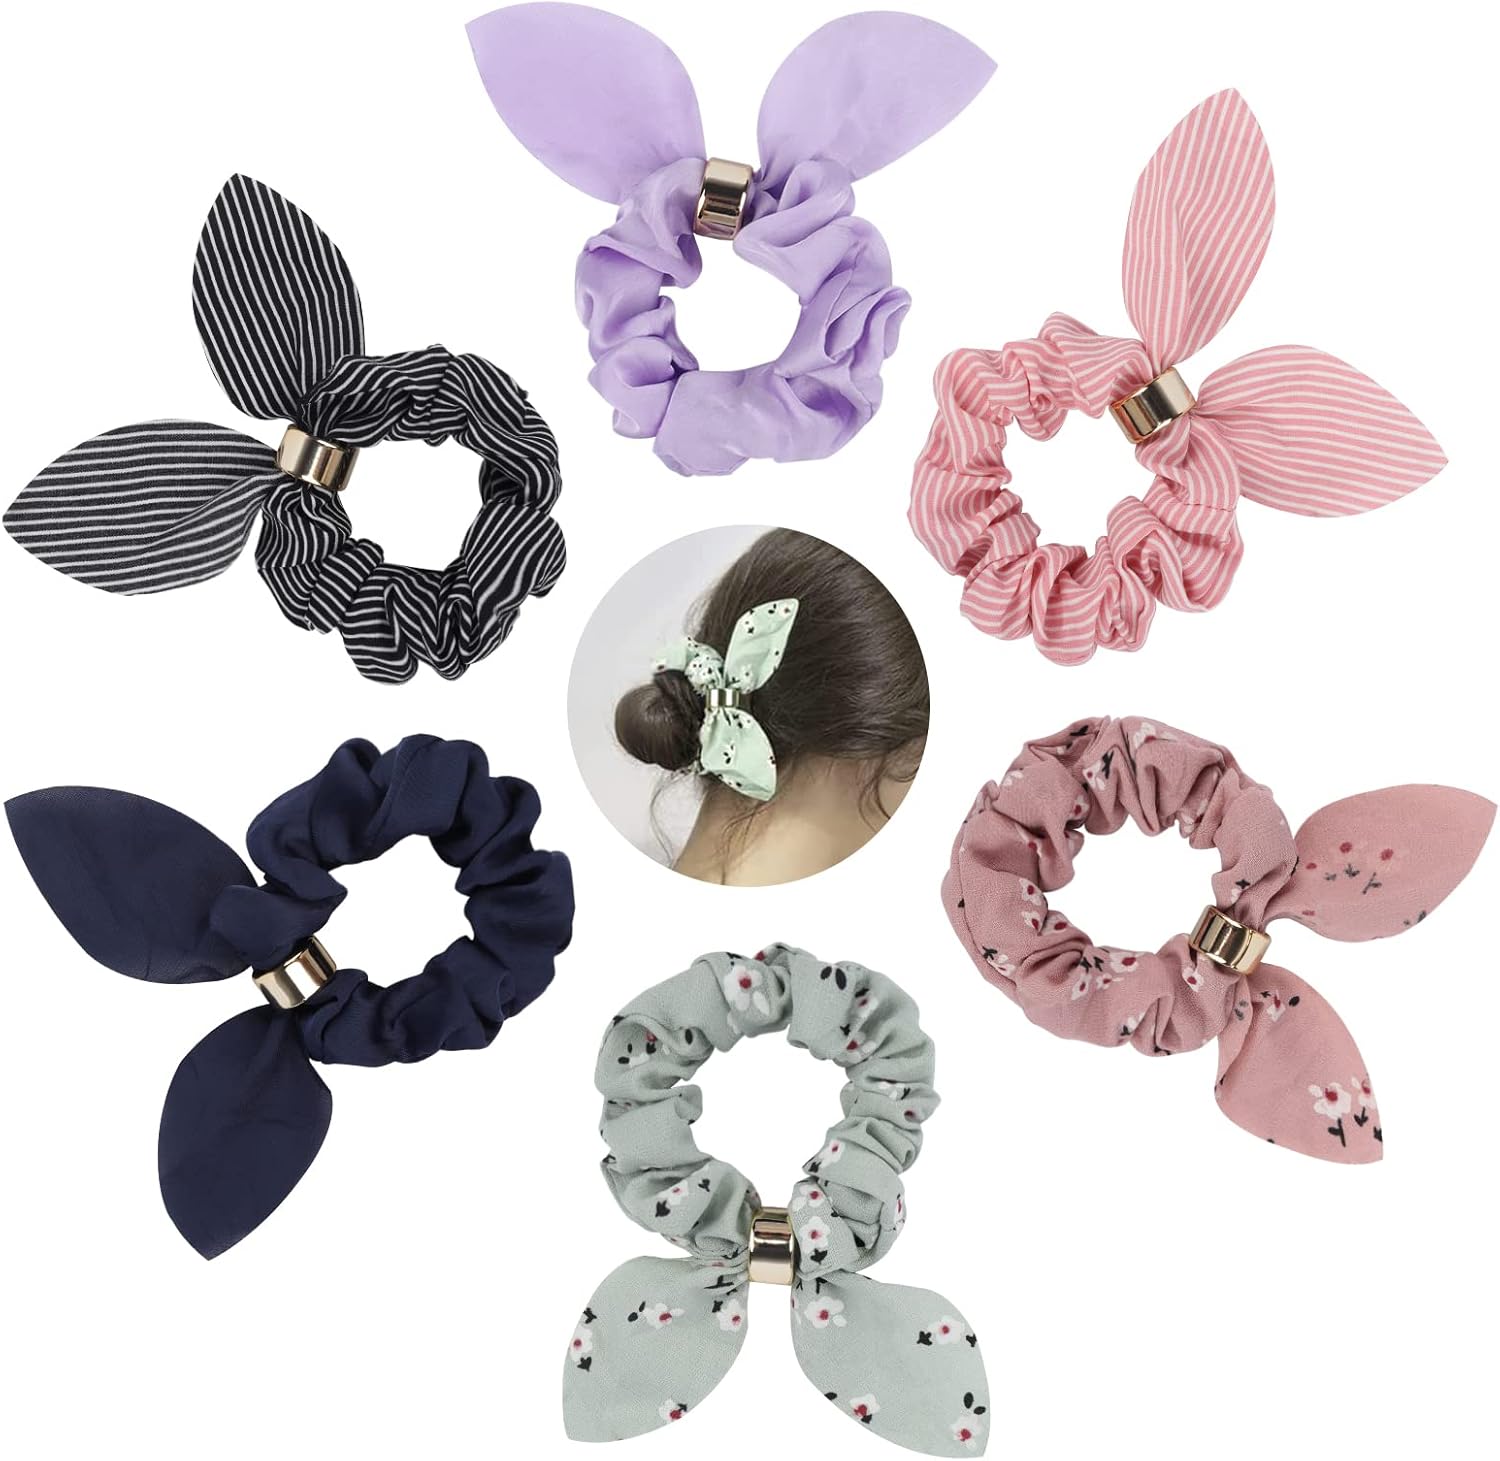
Then, pull the two sides away from the seam. You now have a loop with a small opening along the edge. Step 4: Use the gap you left to turn the bow the right way round. To close up the gap just fold the raw edges inwards, press and then sew closed using your sewing machine. Then, once you’ve made the scarf piece, tie it onto the scrunchie. You can secure the bow with a few hand stitches or a dab of fabric glue to keep it from untying. How to Make a Classic Bow Scrunchie
Try these other recipes
It's almost time to add your elastic! But first, iron the scrunchie flat with the seam along either the top or bottom edge.
PRO TIP: It helps to pin the corners together first, then fill in the remaining length of fabric with pins. To close the scrunchie wiggle the unfolded end of the scrunchie tube into the folded end and pin. Sew across the fabric and through the elastic to close the tube. These scrunchies can be made in a wide variety of fabrics. Each fabric will give the finished scrunchie a slightly different look. Once you’ve gotten the short end to meet each other, match up the edges with the right sides together. Use pins to secure the layers. Sew with a 3/8″ seam allowance. Step 4. Turn right side out. Tie the extra piece onto the main scrunchie piece, making a simple knot. Done! And one more option: Classic Bow ScrunchieNext, fold the scrunchie in half lengthwise with right sides together. Place a pin 1.5 inches in from either end along the raw edges.
Thread the elastic through the scrunchie, holding both ends so it begins to gather up the fabric. Pin both ends of the elastic together. Sew these together with a few rows of stitching to secure on place.Finally, close up the opening left in the side of the scrunchie with a ladder stitch using a hand sewing needle and thread. In this tutorial, I’ll teach you how to sew a classic scrunchie. I’ll also show you how to add 3 different bow variations to your scrunchies. Step 6:Nearly there! Overlap the ends of the fabric by a good couple of centimetres, with the folded edge on top. Using your needle and thread, secure the layers of fabric in place with a few neat stitches. Turn under ¼” on one of the open ends of your fabric tube. Then, slip the other end of the tube inside, overlapping by ¼” or so. Step 3: Clip the corners. Turn the scarf right side out through the remaining gap. Press if desired.
 Great Deal